You've just been notified of a newly dispatched job. Here's what you do to get started.
Log in to app.fieldharmony.com on your mobile device. You'll see this, indicating that you have a new job. 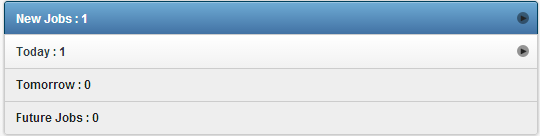
Click "New Jobs" and the job information will expand. After reviewing the job information, you can either "accept" or "reject" individual jobs, or, if you've got a lot in your queue, you can "accept all". This changes your job status to either "accepted" or "rejected"-- in this case, lets go with "accept". 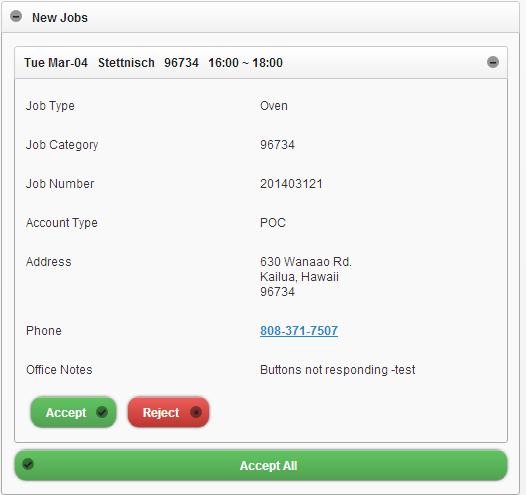
To open an accepted job, click on it. If you need directions and have location services enabled on your device, click "directions" and google maps will launch with the customer's address preset as your destination. 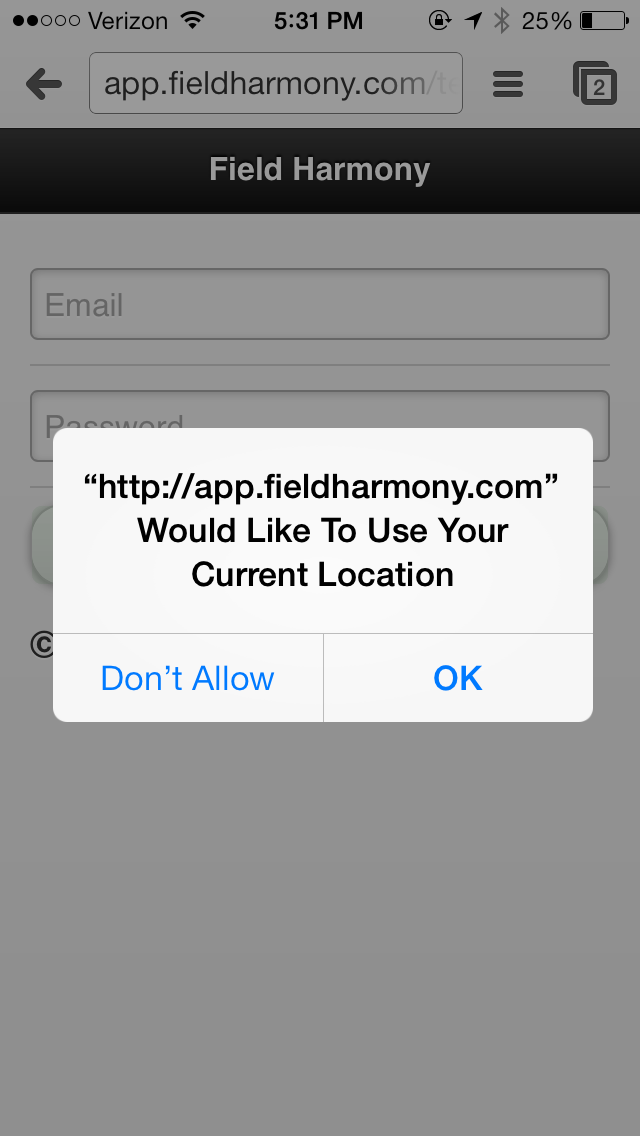
You can also change your starting point. Pick the route that works best for you. 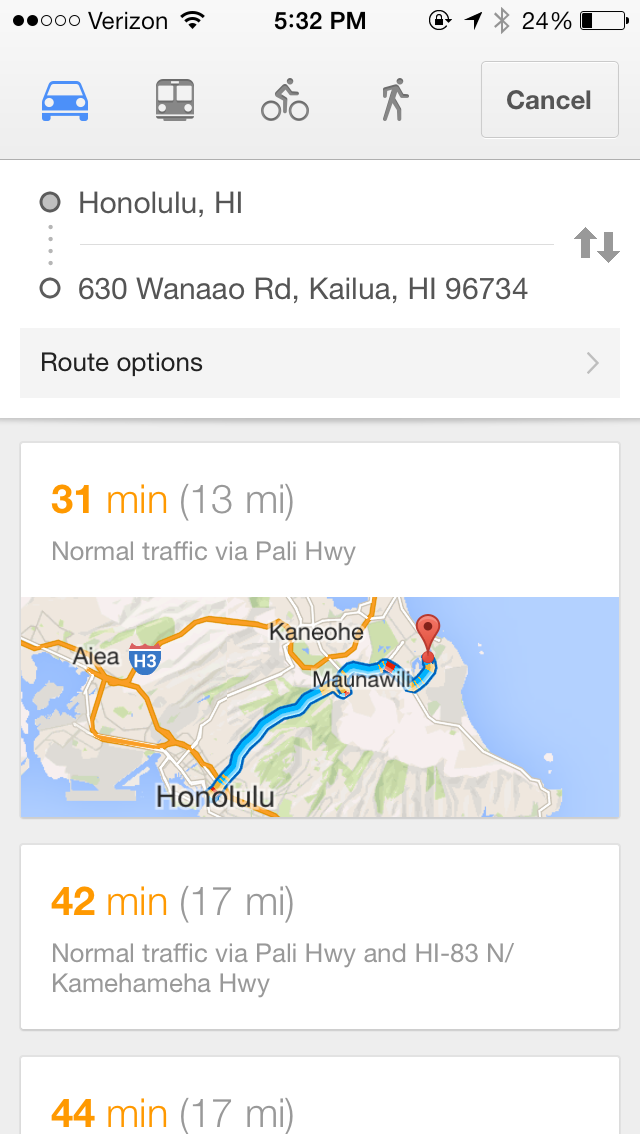
When you arrive, click "start". This will change your job status to "in progress". 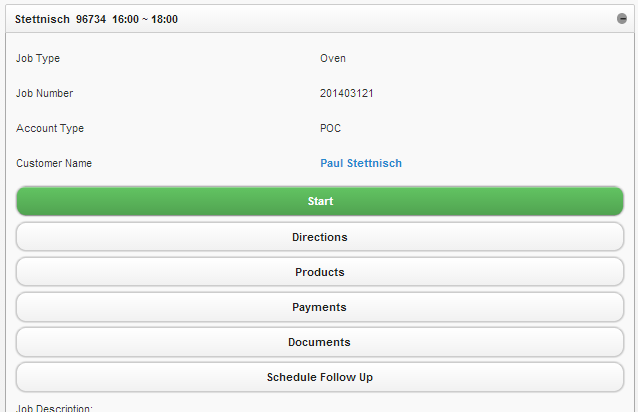
From there, you can add service notes and comments. Just click "update" when you're ready to move on. 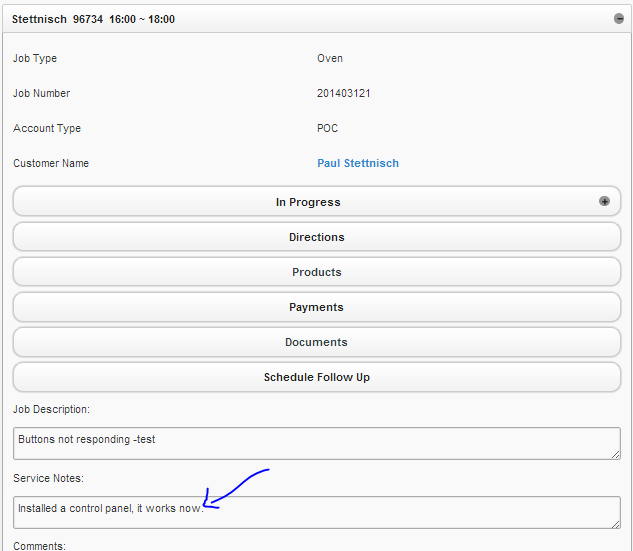
To add parts or items you'd like to have print on the invoice, click "Products". Start typing the part name or number in the search box, and select the one you want. You can change the quantity and price (if allowed). Tax (if applicable) will be automatically calculated once you've entered the part. 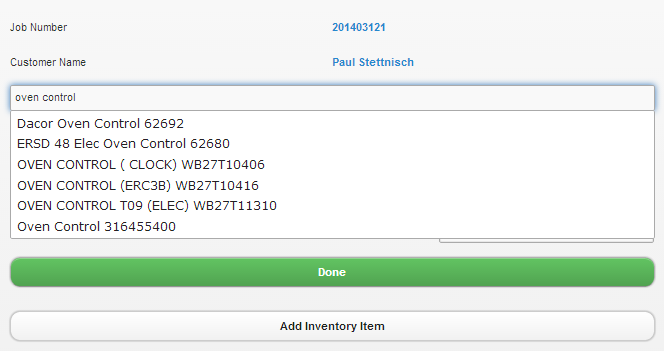
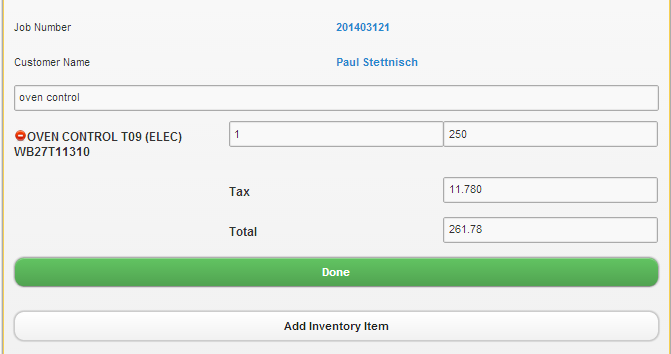
Now that you've got your total, select "Done". If your part supplier's information has been added by the office, you'll see a prompt asking if you'd like to re-order any of the parts you just entered. Click to the left of any parts you'd like to order. A blue box will appear when they are selected. Then click "Send" If you don't want to reorder the part, just click "Skip"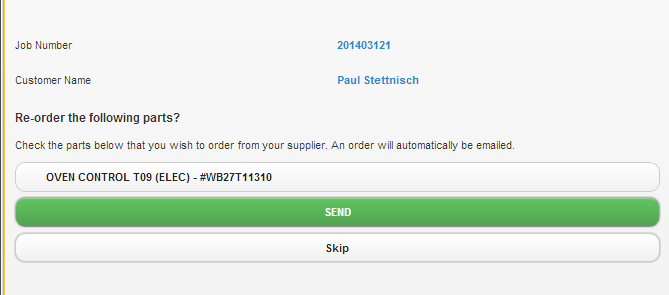
The next step is adding payment information. You can select either Cash, Credit, or Check. Add any payment notes, and then "Accept". 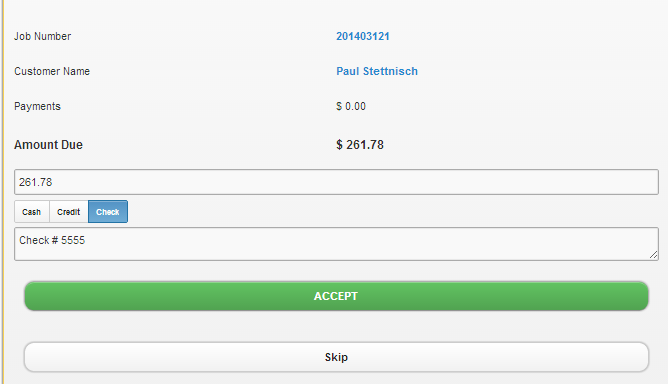
If you are entering multiple payment types, just change the amount, type, and notes accordingly. You can go back and refresh in your browser at any time.
After you've accepted payment, the customer will need to sign the invoice. They can type their name in the box and sign electronically. The fine print is customized by the office. 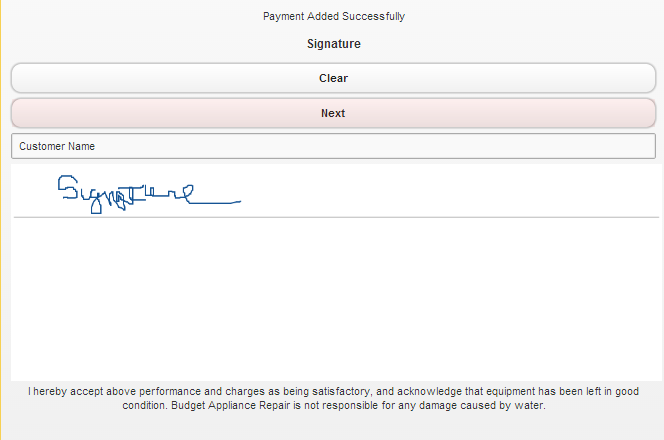
Clicking "Next" will take you back to the basic job menu. You can upload pictures using the "attach file" button.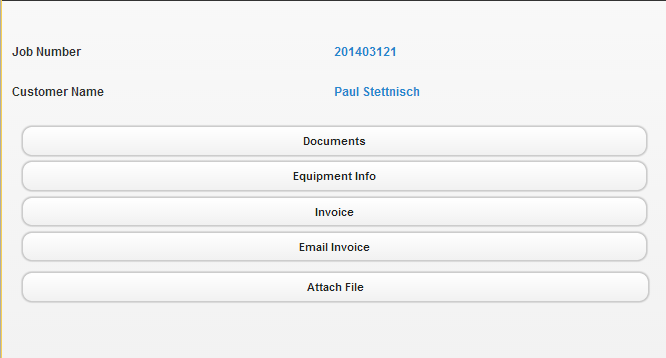 After your invoice is good to go with service notes, parts, and payment, you will then create the invoice by selecting "Invoice". You must create the invoice before you can email it.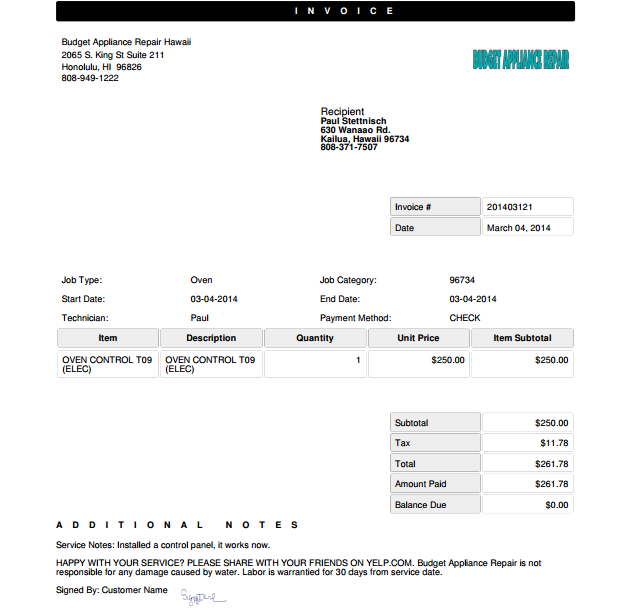
To Email it, go back in your browser to the previous page and select "Email Invoice". A pop-up will appear that has the customer's email address as well as a box to add an additional email. In order for the invoice to be sent, you must click next to the email address so that the blue box appears. 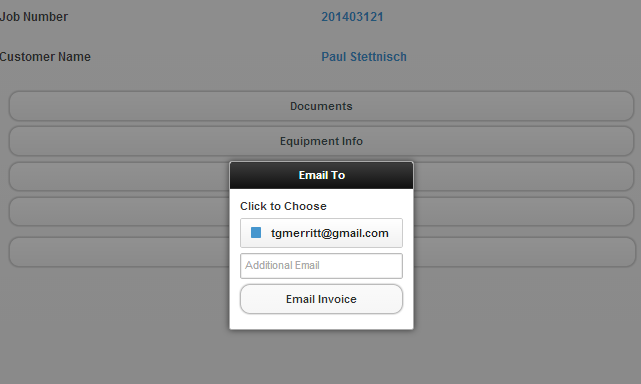
After the email is sent, your job status will be "Complete".
0 Comments